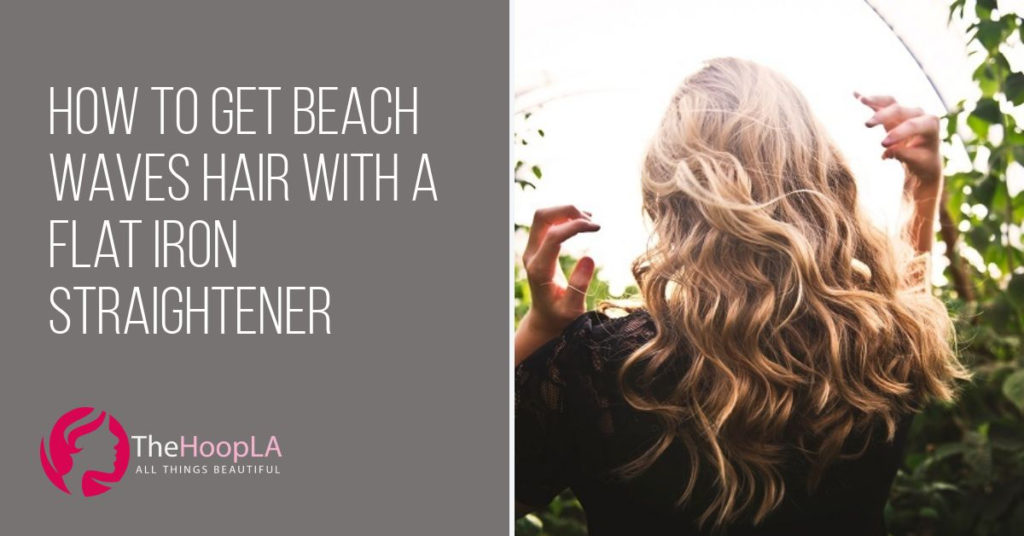
If you’re looking for a great style to spice up your hair for any occasion, beach waves are an excellent way to deviate from basic straightening or curling. Beach waves hair styles exude a carefree, fun-loving vibe which is sure to add a bit of flair to your look, whether it be for a night out or a professional event. They look fantastic for many different types of hair and can be adapted to suit various textures and lengths.
The best part about this look is that the amount of work that goes into achieving it is reflective of the style itself: it’s easy-going, it takes little effort, and isn’t complicated or stressful. Once you’ve experimented with it a little bit, you’ll love having this quick and simple style at your disposal any time you need it. It only takes a few minutes to complete, and there’s no pressure for the look to be perfect since it’s intended to look natural and fun.
Beachy waves don’t require any special tools or out-of-the-ordinary styling equipment. All you need is a flat iron straightener, clips or ties to hold your hair back while you work, and some heat protecting spray. If you’re used to simply straightening your hair with a flat iron, you probably already have all these things; there’s no need to invest in any fancy or expensive extras. If you don’t yet own a straightener, check out our recommendations here.
The only thing that remains is to grab your wavy hair styling tools and read ahead to learn how to crimp your hair with a straightener to get gorgeous beach waves.
Prepare Your Hair for Straightening
Preparation is everything, and if you’re used to straightening your hair more traditionally, then you already know that the well-being of your locks, as well as the result of your styling, rely heavily upon how you prepare for it. Keep these tips in mind as you get ready to learn how to make your hair wavy with straighteners:
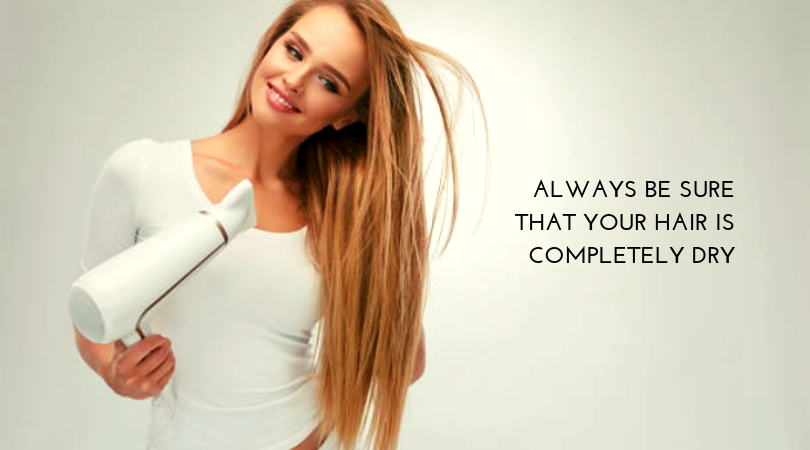
 Always be sure that your hair is completely dry — this tip cannot be stressed enough, as it’s one of the most critical aspects of using a flat iron for any styling. Even slightly damp hair can heavily contribute to avoidable heat damage. The most dangerous mistake that you can make is allowing a searing hot flat iron to contact wet hair.
There is a minimum temperature at which heat will begin to damage your hair. However, at a moderate or low heat setting and with proper straightening techniques, your hair will never get this hot. If your hair is wet, this temperature limit will be lower; therefore, damp hair can get damaged much quicker and easier than it would if it was dry.
Comb through your tresses — this will get rid of any loose hairs or knots that could get caught in your flat iron and make styling more difficult.
Smooth your hair out on a low heat setting — as mentioned above, you never want it to be exposed to more heat than is necessary, as it can dry it out and lead to damage. However, when waving hair with a flat iron, it can be useful to smooth out any kinks beforehand on a low heat setting; this sets the stage for you to get your beach waves just the way you want them.
Apply a thermal protection serum — unless you’re a total pro at quickly waving your hair, you’ll be exposing it to high temperatures for an extended period. That’s no problem, as long as you apply a protective serum to your hair to fortify it against the high temperatures. This will keep it strong and healthy, especially if you use a flat iron often.
Get Beach Waves with A Hair Straightener
Learning how to make wavy hair with a flat iron may take a bit of practice, but you can learn to achieve fabulous results in no time. If you’ve only used your flat iron for basic straightening or curling up until now, learning how to make beach waves will open you up to the possibilities of just how much you can do with a straightener. You may even want to learn how to style bangs with a flat iron!
Make this look work for you by following our tips and styling guide below.
- Make sure you’re fully prepared — once you’ve allowed your hair to dry completely, combed it out one last time, and applied your thermal protecting spray, you are ready to begin. If you have any doubts, follow the tips above to ensure that you’ve covered all your bases before starting. Remember, all these steps will help to make your hair look great and keep it healthy throughout the styling process. Never sacrifice the health of your hair to look great.
- Start sectioning — dividing your hair into small sections makes it easier to organise your styling and ensures that you only service each strand of hair once. This makes things go a lot quicker, provides the best results, and prevents you from accidentally exposing your hair to a hot flat iron multiple times. When separating and pinning down different sections of hair, be sure small pieces do not get loose and go through the straightener if they already have. Depending on what kind of hair you have, the number of sections that you decide to make may vary. Some people usually opt for 2–4, but feel free to experiment to find out what makes the most sense for the thickness and length of your hair.
- Begin styling — go section by section, gripping your hair firmly, yet gently between the clamps of the straightener and rotating your wrist in either direction. Hold this position while sliding from the top of the strand all the way down from the root to the end. It doesn’t matter which way you twist your wrist, and you can even alternate the direction of this movement as you work different strands of hair. Remember: this look is meant to be fun and carefree, so there’s no need to aim for absolute symmetry or perfection. A quick tip: if you’re not 100% confident attempting this with a hot flat iron on your first try, practice the movement a few times before turning on the heat. That way, you don’t have to worry about needing to redo any sections of hair or applying heat to your hair several times.
- Work evenly from one section to the next as you go — since you’ve already sectioned your hair, it should be easy to keep track of which strands of hair have been styled and which ones haven’t. Repeat step three across each section until you have twisted your way to a gorgeous head full of beach waves. Keep in mind that the sectioning method works as a way for you to systematically work from one part of your hair to the next. Although it is an extra step in the process, it saves you a lot of time in the end and delivers the most even, consistent styling results.
- Apply the finishing touches — once you’ve worked your way through all sections of hair, apply your holding product of choice to keep your styling efforts in place all day. Don’t use anything that will make your hair feel stiff, as you want your look to fall naturally. Run your hands through your hair and tousle it a bit to give it that relaxed, fun-loving look. Remember, beach waves are meant to look natural, and they don’t need to be perfect or symmetrical. Have fun with it! Finally, take a look in the mirror and appreciate your newly-styled, flat iron waves. You are bound to get compliments and queries about how you styled your hair! This is a versatile look that you can use again and again for a variety of occasions; you’ll be addicted to it once you’ve mastered how to make it work for you, and the more you practice, the less time it will take you to complete!
Beach Waves with Flat Iron for Short Hair
You can achieve beach waves for short hair with a curling iron as well. There are definitely a few things to keep in mind which are specific to short hair when going for this look. For instance, you can get away with sectioning your hair a lot faster, and even just clipping up the top of your hair may be enough. You should also only curl about 3/4 of the way down your strands rather than all the way.
If you have short hair, you’ll want to use a flat iron that has narrower plates as opposed to wider ones. This makes it easier to get closer to the root. For example, the Babyliss Pro OPTIMA3000 Straightener is an excellent choice for short hair. It has a variety of settings and titanium plates that are well-sized for short hair, and it is designed for both straightening and curling. The adjustable 150°C-230°C temperature setting also enables a wide range of styling options. See our in-depth review for more info on the Babyliss.
Other than the size of the flat iron, the process of getting beach waves for short hair is essentially the same; definitely try these techniques if you want to create flat iron waves for a lob. This style can be
pulled off in a way that is especially cute and energetic if you have short hair, so don’t hesitate to try it out if you’re looking for a new way to spruce up your hairstyle.
Beach Waves with Flat Iron for Long Hair
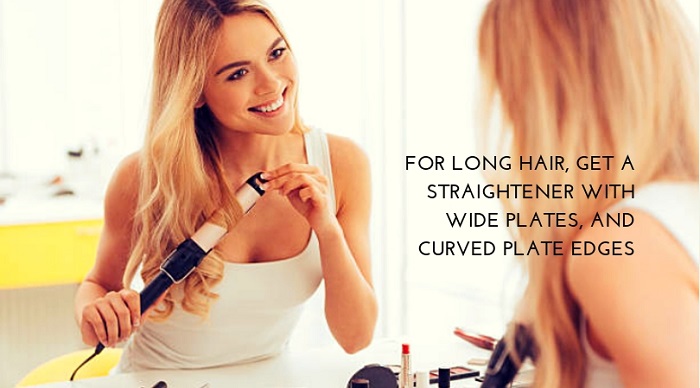
 This style looks fantastic on long hair. If you have long or thick hair, you should get a straightener with wide plates, and curved plate edges so that it’s easier and quicker to get beach waves. Whether you want to get big curls with a flat iron or beach waves with a curling iron, a hair straightener will only be able to get the results that you want if it’s well-suited for your hair.
A narrower straightener would not work well on long hair for a couple of reasons. First, it would take much longer to curl all your hair; more hair equals more time and effort. It would be inefficient, which goes against the quick and easy nature of this hairstyle. Second, it would create tighter curls which are more suited for short hair.
The ghd gold max styler is a fantastic tool for getting this kind of style. If you’re looking for a high-quality, multi-purpose flat iron from one of the top brands, ghd is one of the most highly-recommended names on the market today. It may even be the best flat iron for waves.
If you already have a good idea of how to get beach waves with a curling iron, then it will be a snap for you to learn how to get flat iron waves for long hair. With the right styling tool and a bit of practice, you’ll be rocking this look in no time.
Conclusion
Beach waves are such a versatile style, and the best part is that you can get them for any hair type. They add so much personality and life to your look, and they’re an appropriate style for both casual and formal occasions. Once you become experienced with styling your hair this way, you’ll have a hard time resisting the temptation to go for it all the time.
No matter your hair type or style, always remember that there are ways to tweak these looks to make them work just for you. Using a multi-purpose, high-quality flat iron is a significant factor that will determine what styling flexibility you’ll have. It will also get the job done faster and with better results than a cheaper model would be capable of achieving. Above all, be sure to care for your hair well and to avoid heat damage if you’re a frequent flat iron user.

